Do you want to learn how to paint a watercolor background to use with hand lettering? Or maybe in a journal? Are you making your own invitations and need a beautiful watercolour background to make it truly original? You might like one of my favorites ways to use a watercolor background: making gorgeous printable paper.
The first thing to know is we’re going to explore different watercolor painting techniques in this post on watercolor background images. It’s so much fun learning new painting tips and creating beautiful paintings!
I hope you will paint along with me. You will probably get different results but that’s the joy of being a watercolor artist. So I hope you will enjoy the process with me.
How do you make a simple watercolor background?
- Decide on the colors you want
- Always use watercolor paper
- Decide if you want a design – or just texture
- Commit to practicing a few ideas
There’s a lot of information available on how to make watercolor backgrounds using the wet on wet technique.
The wet technique will definitely create some beautiful background textures you can use for a variety of projects.
Our first ideas are wet on wet techniques. Then, I want to show you some different watercolor background ideas that are just as beautiful and can add some flexibility to your design projects.
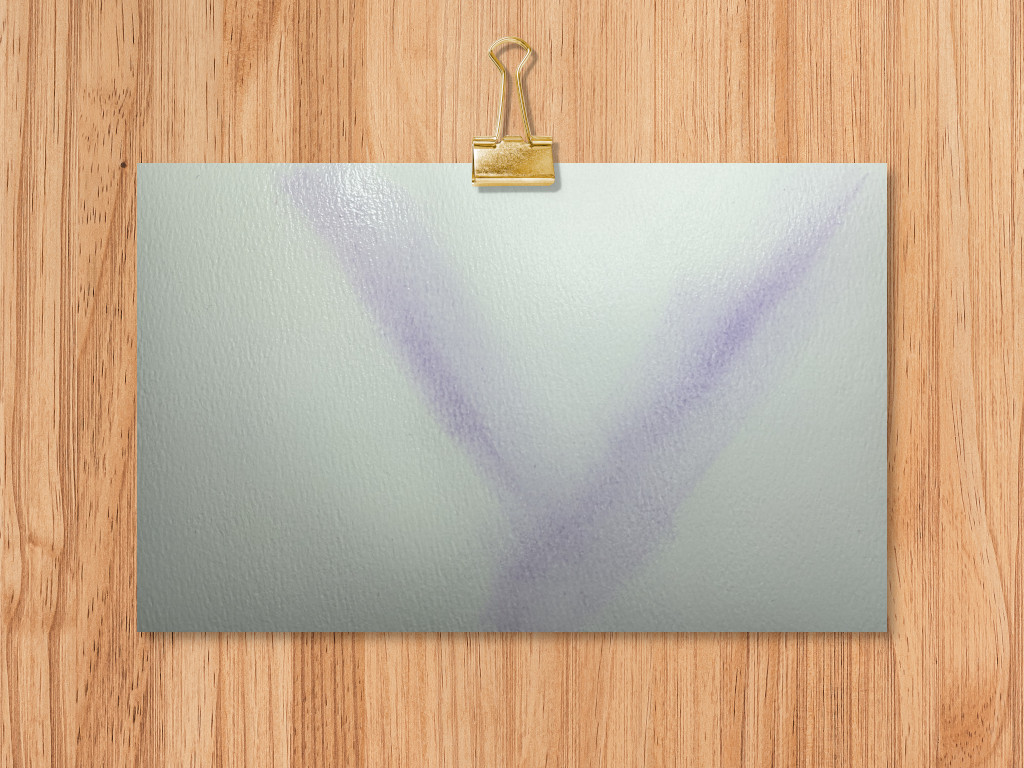
This watercolor technique is super simple to do.
Grab a piece of watercolor paper. You’ll probably want to use masking tape or something similar to attach your paper to a hard surface to keep it from buckling from the water. Using clean water and a flat brush, wet your paper.
You don’t need a lot of water, just a wet surface.
If you find you’ve overdone it and have a lot of excess water, use a dry, clean paper towel to gently blot up any puddles of water.
{If you are a bit frustrated with how your water and paint interact and you’d like some new ideas to help, look at this video on how to control water while watercolor painting. It helped me, too.}
When your paper has a nice sheen to it (but not too much water), use a fan brush (you can also use a flat brush for this but using a fan brush gives you a slightly different effect) to gently drag different colors in different directions across the surface of the wet paper.
I suggest using enough paint to get the saturation of color you want the first time (remember watercolours dry lighter) unless you want to let your paper dry and lay down a second layer of wash (I did not).
I made one pass or brush stroke in each direction. Cleaned my brush and repeated with each color.
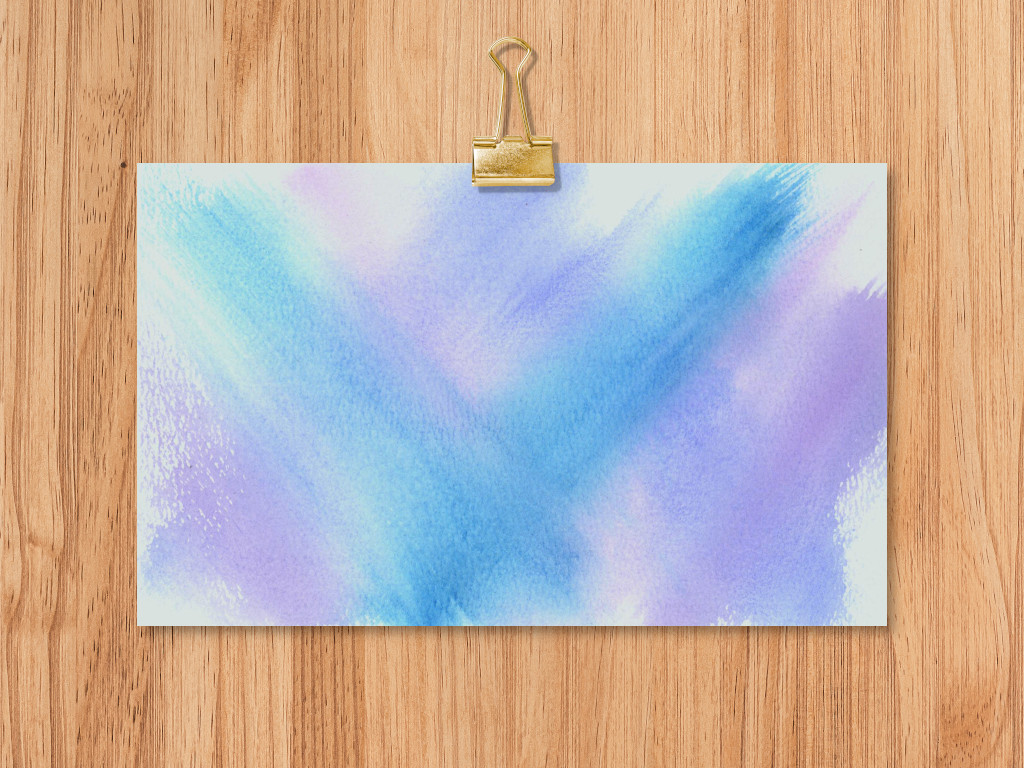
Isn’t this beautiful? The temptation in this method is to overwork it. I keep myself to the 1-pass rule which means I load my brush carefully.
Literally, this watercolor background takes about 5 minutes to complete.
Since we’re learning how to paint a watercolor background, let’s try another easy idea.
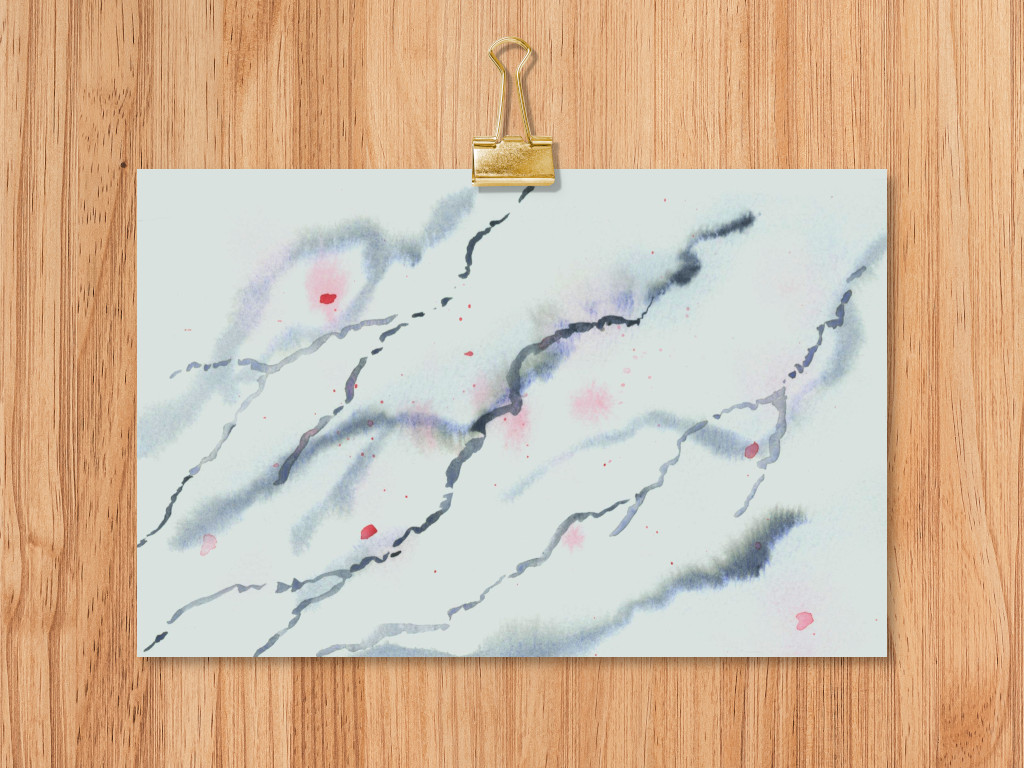
Creating a simple watercolor marble background
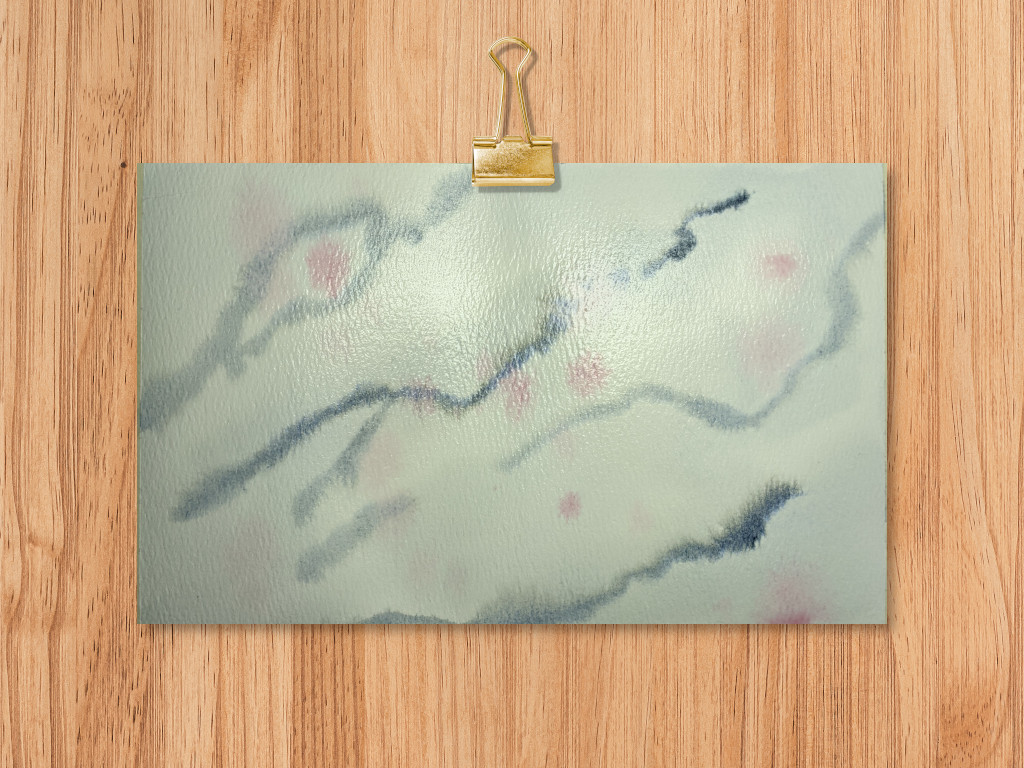
This background will take a bit longer as it has several layers that need to dry in between steps, but the painting itself is simple.
This is another wet technique, so affix your watercolor paper to keep it flat and brush on a wet wash of water again.
I used a round brush and a highly diluted layer of color – Payne’s gray – for the background color. I didn’t use a flat wash – no even color – but just enough so you can see the gray here and there.
While the paper’s still wet, I added some random, wiggly lines of more saturated gray paint.
Since the paper’s wet, the gray will bleed nicely but you’ll still get those darker areas of color.
I also added drops of a bright red – any will do – randomly as I wanted my marble background to have a few pops of color. Since the watercolour paper is still wet, the red bled also.
I added a few – just a few – spatters of the red on this first image, too. That gives me areas of subtle color.
Now it’s time to let that layer dry thoroughly.
Once dry I went back in with a liner brush to add darker gray veins in the marble.
{Want to learn more? Painting water with watercolors – oceans, waves, etc. – is a similar process and you’ll enjoy my post on that, as well.}
You’ll have to decide how many veins you want in your watercolor background (you are painting along with me, right? I hope so!), but I find it easy to overdo this step. Take a step back while adding these random squiggly lines and stop at the first feeling of satisfaction.
I added small red dots and a few red splatters to finish up. Again, be careful not to overdo.
Very very pretty. Please don’t feel like this is too complicated for you. It really is a step by step process.
Remember, it’s going to be a background so whatever gets put on top – a quote, a photograph, etc. – will be the star of the project.
This background will simply help to set off your “star” beautifully.
Going abstract for our easy backgrounds
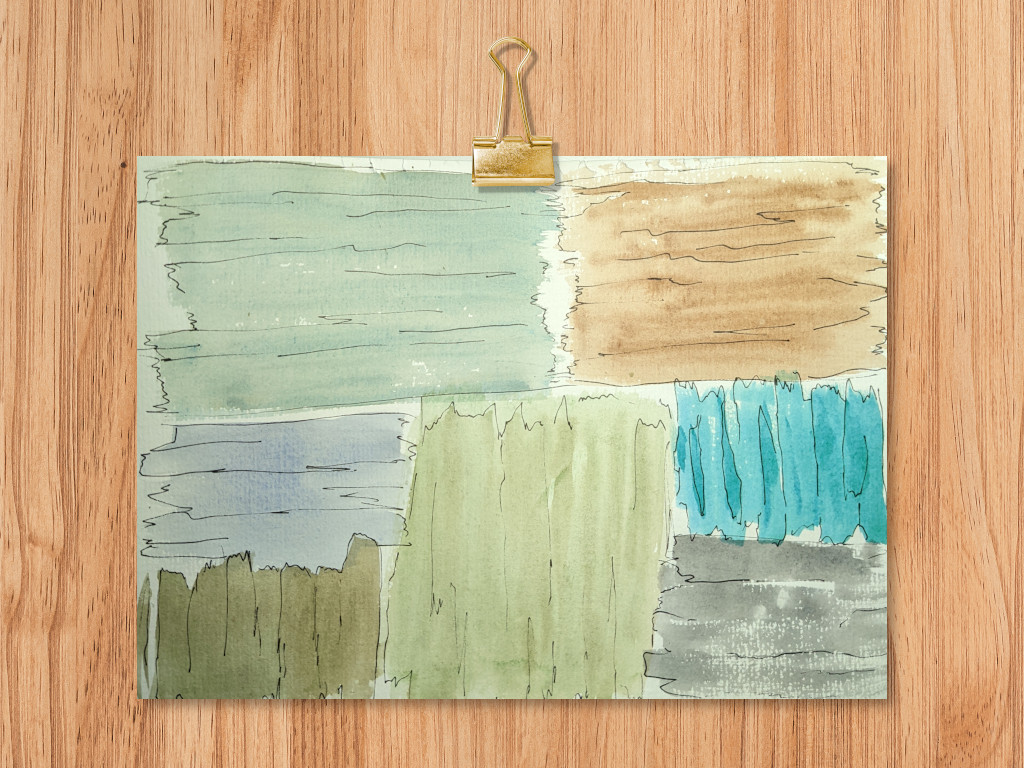
I love to use shapes as a watercolor background.
This simple background was created using dry paper and a fairly dry brush.
I simply stroked small areas with a flat brush and a little paint.
You see the beautiful results. Don’t try to start or stop evenly. You’ll get great effects with such a basic background.
This technique will produce a hard edge.
While the first layer was still damp, I used the edge of the flat brush to add a bit more paint and drew a few lines in each of the different colors.
Once the paint was dry, the next step was to ink randomly around the abstract shapes.
Inking is a fun technique that can really make your finished project pop.
I find it’s a good idea to use waterproof ink to prevent it from bleeding.
The white space in this background adds a lot to the final patterns. Also keeping my areas of color separate means I can scan this one background and zoom in on a particular color when a project requires it.
When I learned how to paint a watercolor background, I discovered painting one background that I can use in several ways really comes in handy.
Easy and sophisticated polka dots
Using patterns like polka dots are a timeless classic in design.
The beauty of doing them in watercolor means they don’t need to be perfect.
Being hand painted makes them organic and provides a quintessential backdrop for many projects.
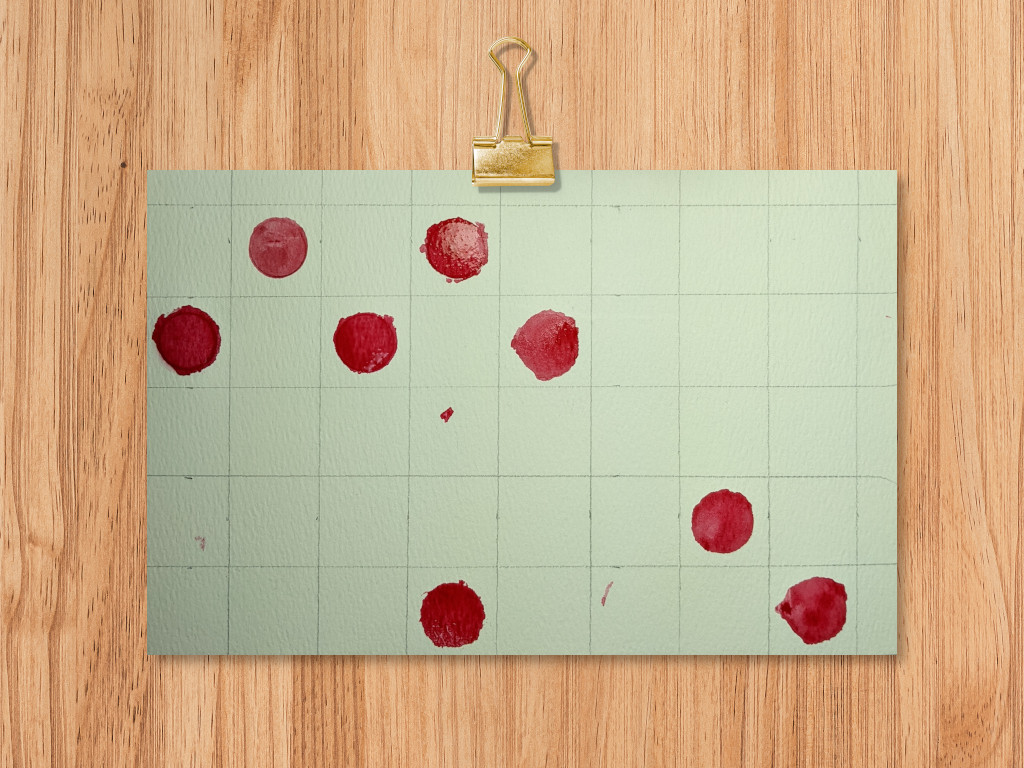
It’s just personal preference, but to keep my red dots from wandering (unless you’re going for that look, of course), I drew a simple pencil grid to help me keep things lined up.
I used a stencil on dry watercolor paper and a highly saturated round brush to dab the paint in place.
I’ll be honest, it can be a messy process, but it’s also very easy.
I took my time with this, cleaning off the stencil between red dots and letting dots dry so I didn’t smear them.
When everything was dry I erased the pencil lines and, using the same stencil, inked in the circles for contrast.
For the final work on this project, I scanned it into my graphics software (I use the free software program, Gimp) and cleaned up the dots a bit.
Again, I didn’t want them perfect, but I did want them to look like circles!
There are different ways to achieve this process, I’m only sharing how I do it.
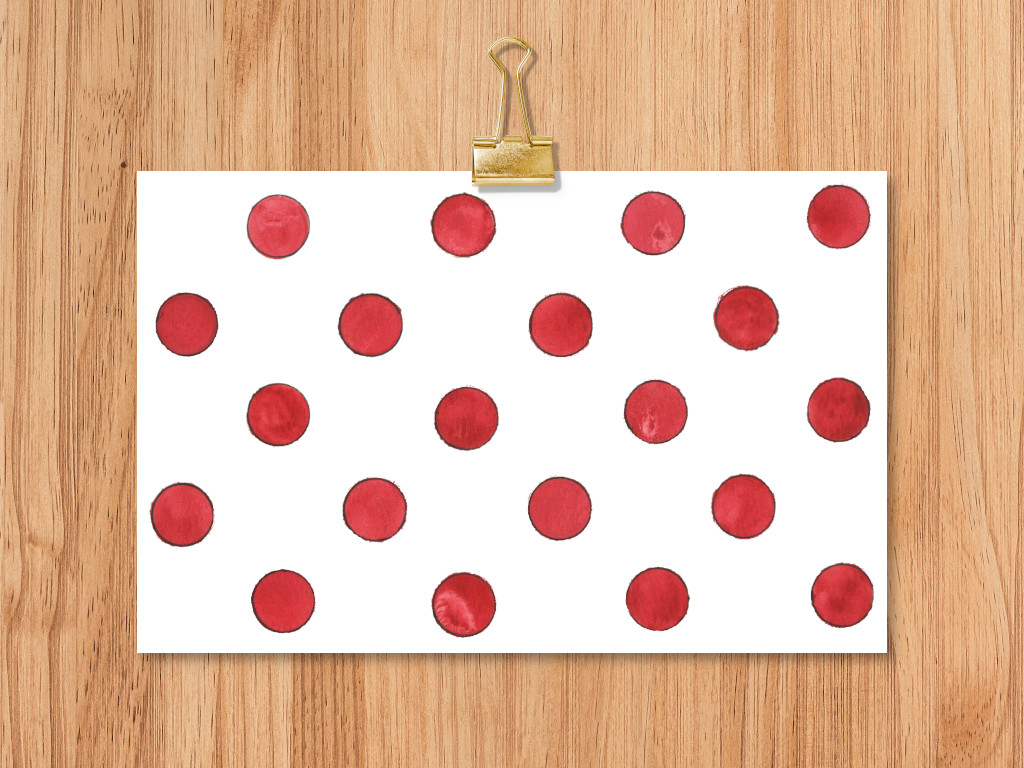
I used as much color on these dots as I wanted in only one layer as I didn’t want to do multiple layers while painting my watercolor background, and I wanted them to be bright and vibrant.
They are small areas but they pack a punch.
This background would be super cute and cheery as a layer in art journal pages. Just print and paste.
How do you paint a watercolor background for lettering?
- Leave white space or
- Keep the colors contrasting so your lettering shows up clearly
- If a background is too bright, digitally layer a transparency on top for under your lettering
- Watercolors make beautiful and easy hand lettering backgrounds
Again, we’re going to explore nontraditional ideas for how to paint a watercolor background for lettering.
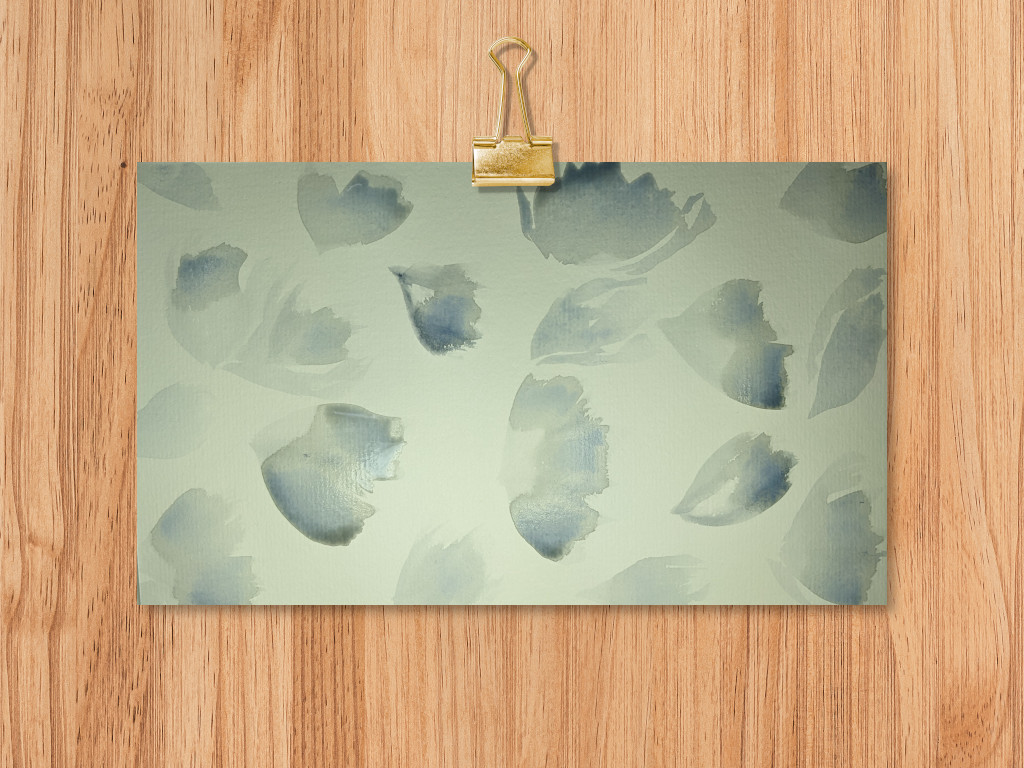
This design depends upon watercolor artists doing less – not overdoing it.
It’s light and translucent. Your lettering will glide right over this background or you can use it as clip art and place the flower petals in a corner or as a border.
Using dry watercolor paper, I used a large round brush and a small amount of paint.
Starting with the brush tip, I laid the barrel of the brush on the paper and pulled it straight up, not dragging it forward as is usually done to make a second painted point.
By laying the round brush perpendicular to the paper and pushing it against the paper, then pulling straight up, I achieved the feathery edges of the flower petals in one stroke.
For the final touches, I did layer on additional layers of color, but very carefully as I didn’t want these flowers to loose their transparency.
I used watercolor pencils to add purple, red and yellow gently into the base of the petals.
I love watercolor pencils and use them a lot in my artwork. They complement watercolors perfectly and can add precision if used well.
You simply use them to add color where you want; then brush with a bit of water – or not. It’s up to you.
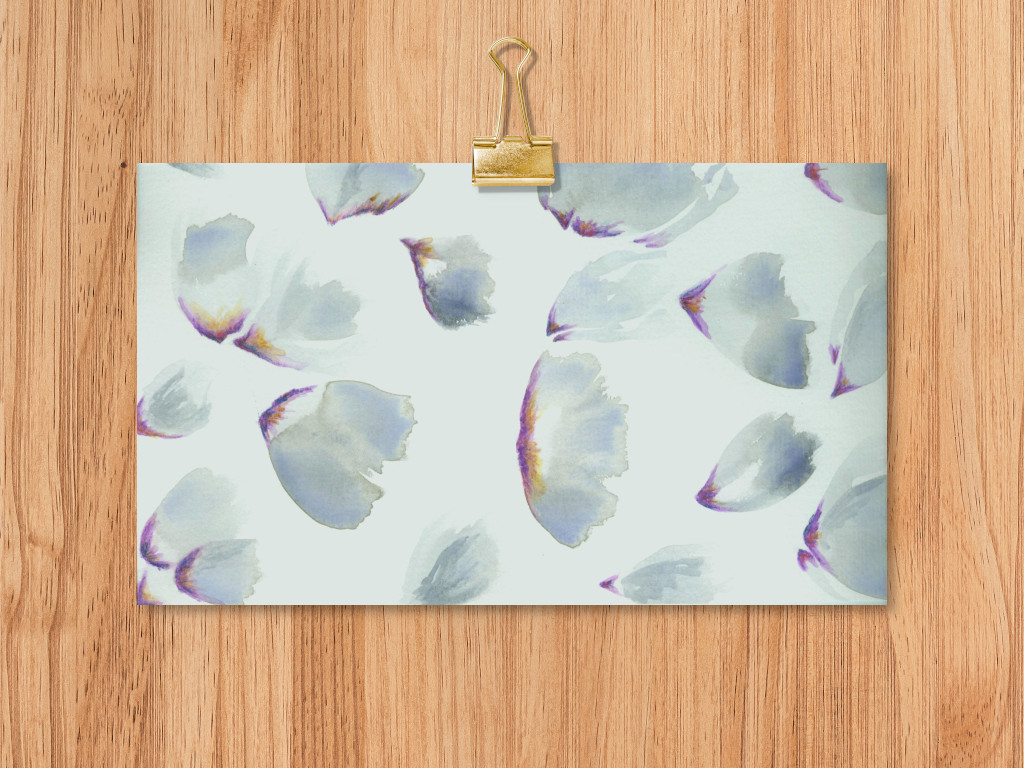
Again, don’t overdo it.
These petals are so light they look like they’re floating. When I scanned this into my computer and zoomed in tight – wow – the texture is so beautiful. A closeup of this background would make a gorgeous lettering background or a wedding invite.
Wouldn’t this painting idea look great as watercolor bookmarks?
Yes!
Whether you do brush lettering with brush pens or add your lettering digitally, this idea will make gorgeous simple backgrounds with its light wash and easy layers of color.
As you practice how to paint a watercolor background, don’t be afraid to experiment with the painting ideas in your mind.
Using a few drops of water and the lightest color – wow! – you can get beautiful results.
What about a blue watercolor background?
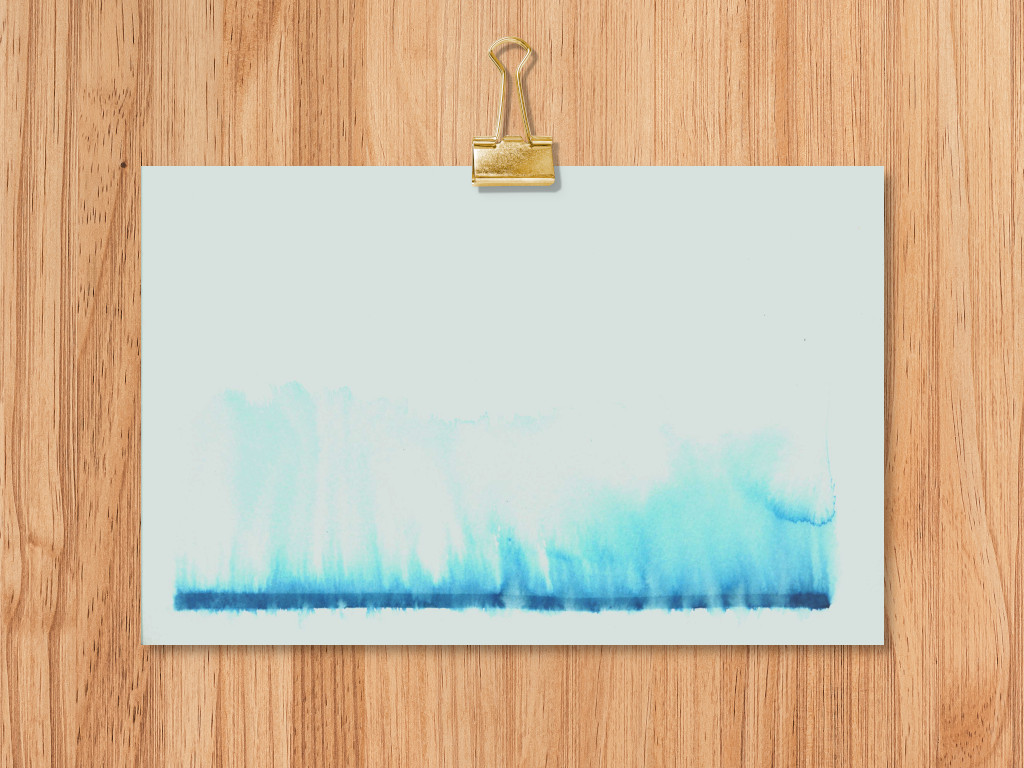
This is super simple and can be used in so many different ways.
I drew a straight line at the top of the page with a watercolor marker in blue (I flipped the photo for the picture).
Using a wet flat brush, I pulled down on that blue marker paint.
So lovely!
This can be used at the top or bottom of your lettering project.
Very minimalist and uncluttered, this artwork will highlight your beautiful hand lettering.
Using a mop brush for a background
This watercolour background has more steps but is still simple.
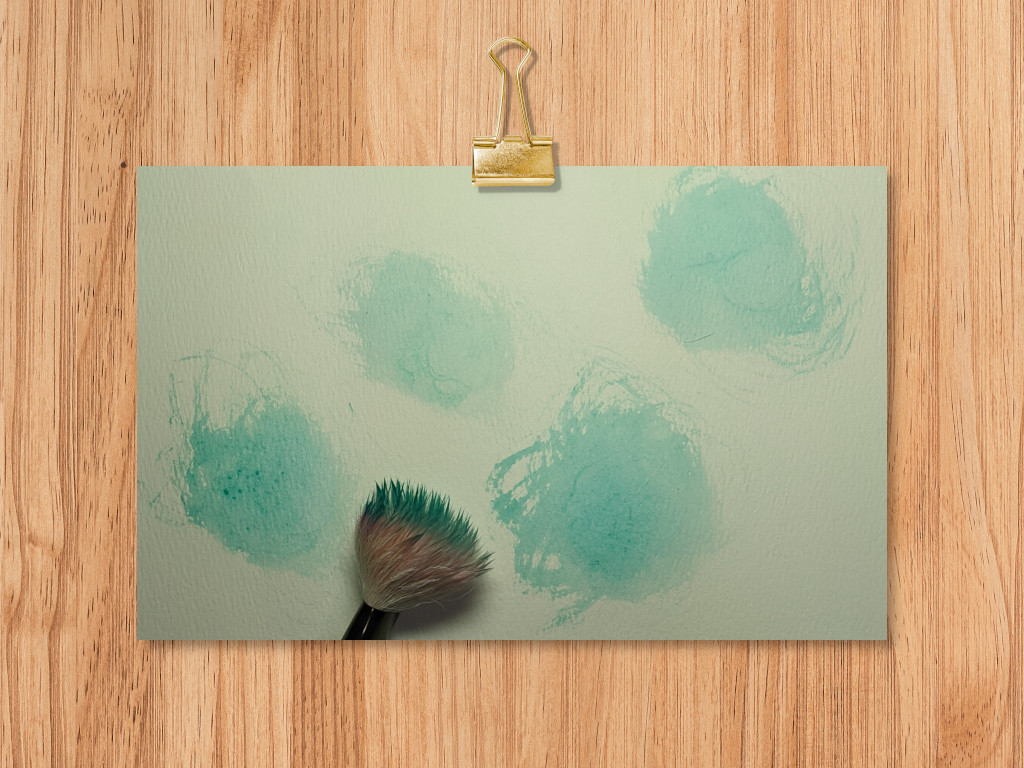
It’s fun because it uses a mop brush, which, personally, I don’t use often enough!
On dry watercolor paper, I added a lot of paint in small circles with a round brush for the first step.
Immediately – don’t let that paint start to dry – I used a damp mop brush and twirled it in the watercolor paint.
Twirl the mop brush just enough to spread the paint and add texture. Don’t swirl it enough to lose all those different patterns!
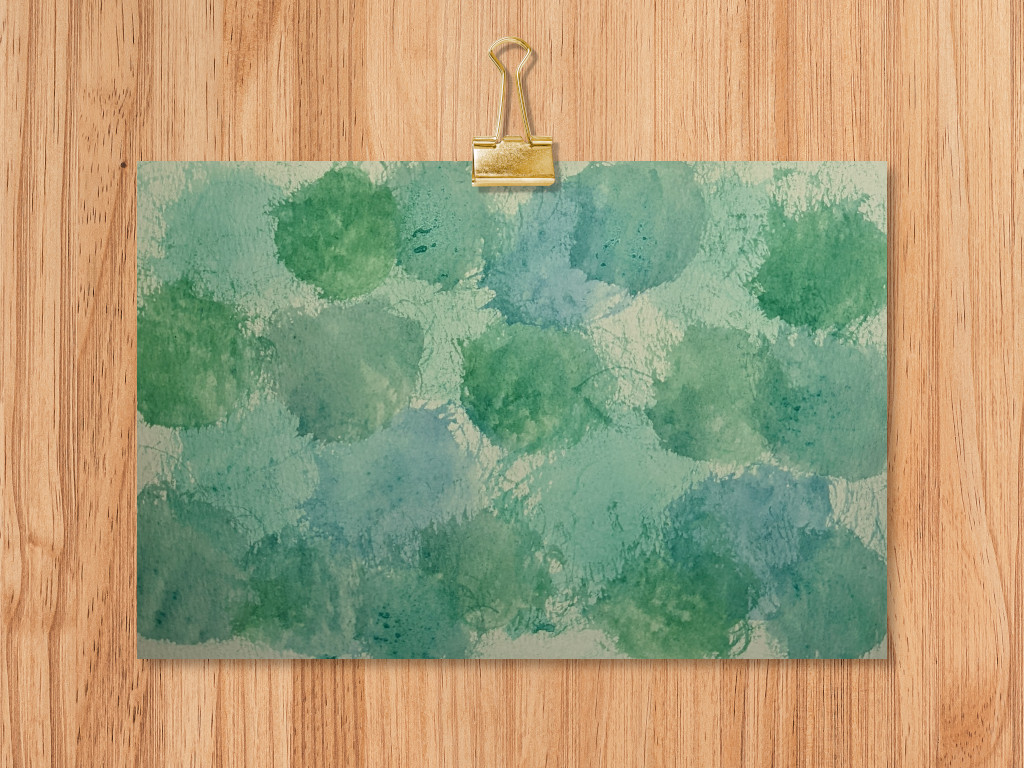
Add the colors and amount of mop brush swirls you like. I filled my paper but that’s not necessary. Depends on the look you want so be sure and experiment first.
After that background paint dried thoroughly, I added bright blue circles of paint randomly on the project.
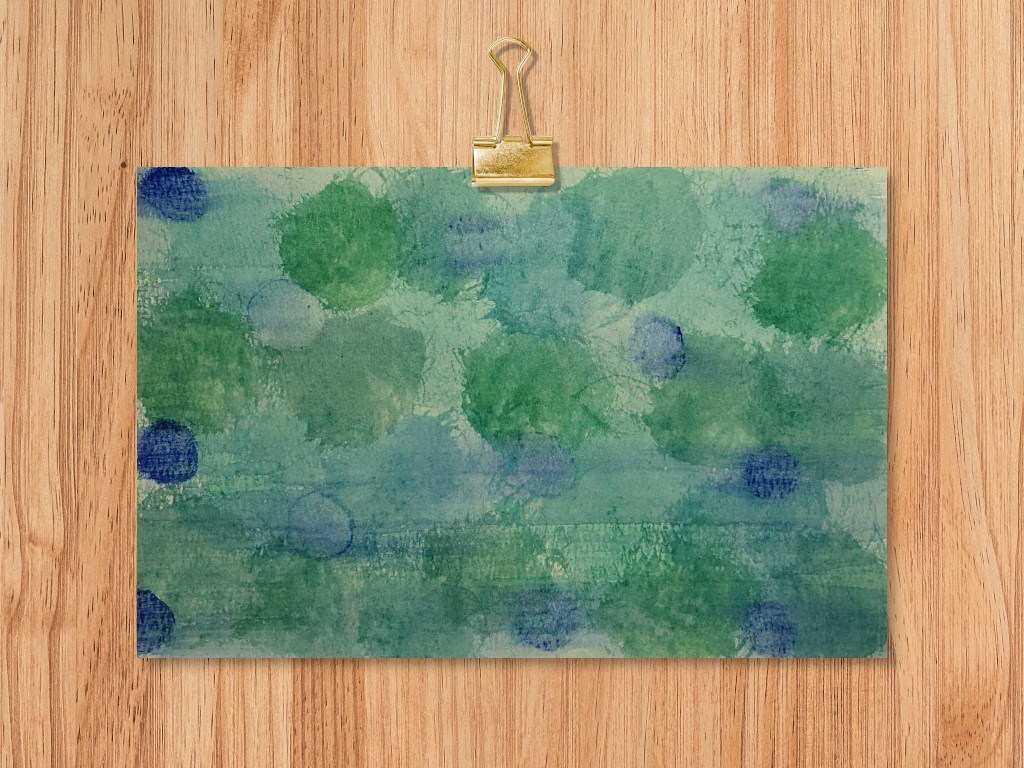
Then, before that layer dried, using a large flat brush, I gently brushed a soft layer of water over the top, causing the painting to go out of focus and distributing – just a bit – the wet blue dots of paint.
After that layer dried completely, I used a blade to gently scratch the surface for a weathered look.
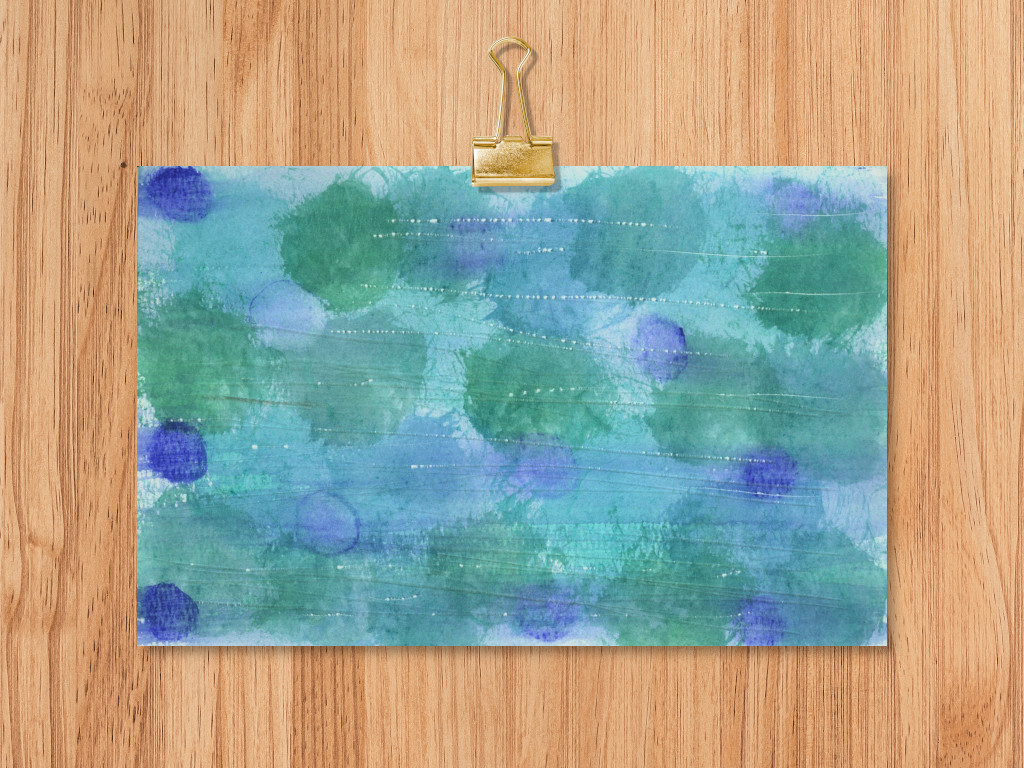
This can be scanned into a computer and lightened as a transparency under hand lettering. Or a white ink would be beautiful used on top as is.
Another thing I like to do with these vibrant backgrounds is to digitally place a smaller white layer over the top, leaving a beautiful watercolor border.
Easily, this project can be used as printable paper, an invitation, or a page in a journal or scrapbooking project.
Very easy and completely custom for your project.
Need a great way to hand letter some text on your page without using pencil lines?
This is so beginner friendly. Use a stencil to add lines exactly where you want them.
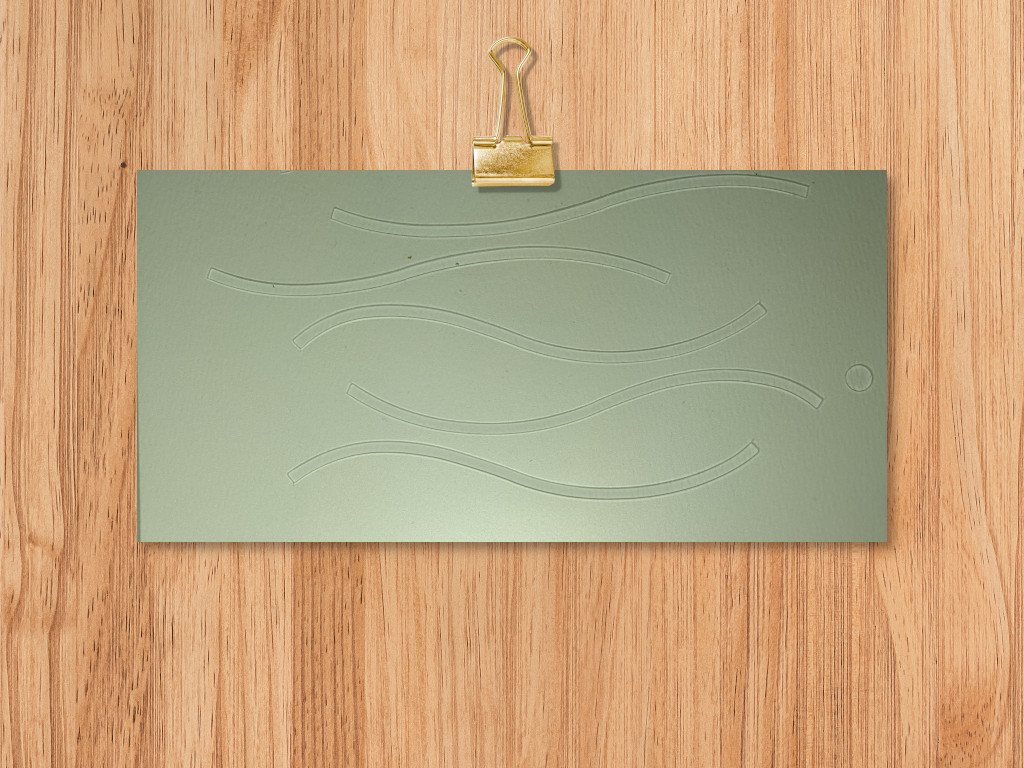
(This particular stencil comes with several types and shapes of lines for journal writing or hand lettering.)
Instead of using a pencil that I would need to erase later, why not just use watercolor from the beginning?
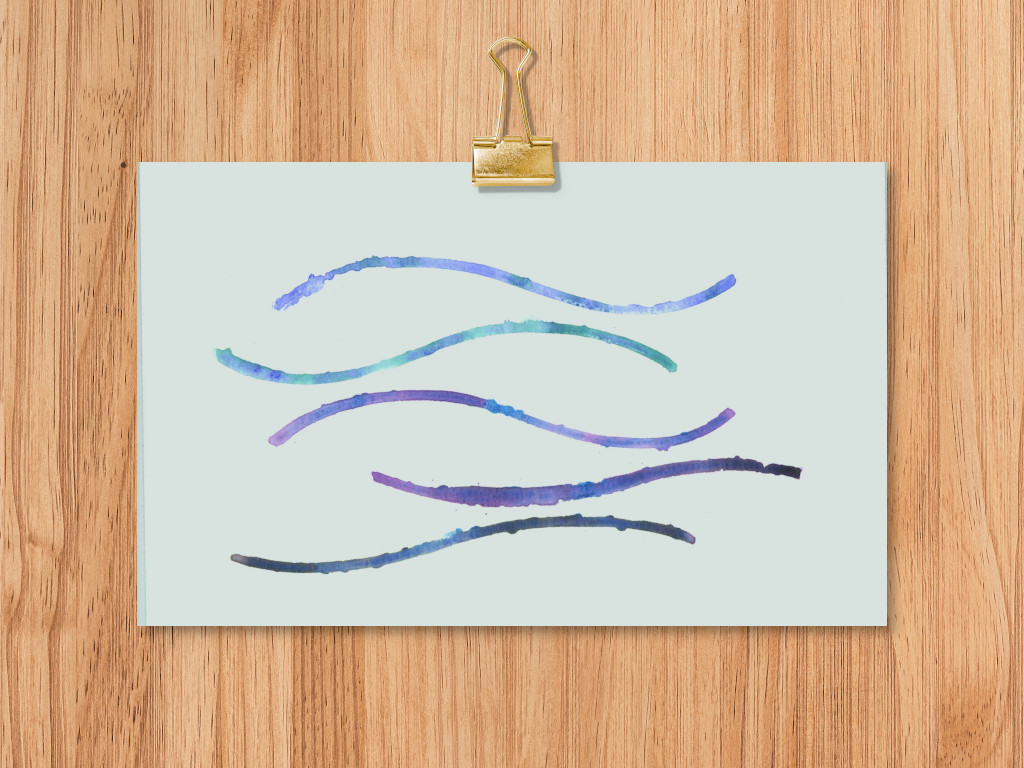
Be wary of excess paint using this method. I like the messy lines under a stencil that happens with wet paint, but all you have to do to keep a bit of a clean edge is to use less paint and add several layers letting each dry in between to get the vibrancy you want.
Hold the stencil firmly in place, too. Again, a practice run will be your best friend in determining the best techniques for you.
A dark paint will make the finished project pop whereas a pastel paint will recede nicely and let your lettering be the star.
As you can see, figuring out how to paint a watercolor background to fit your particular artwork means thinking out of the box. But it doesn’t mean the painting techniques are any harder.
A watercolor abstract heart

Creating a one-image piece of artwork works beautifully for hand lettering projects.
I used a wet technique for this heart because I wanted my colors to bleed together and have a beautiful watercolor splatter effect.
But a dry method would also be gorgeous. Just have different texture.
I added the second color while the rest of the painting was still wet.
As you can see, I penciled in my heart design before painting but that’s only one method you could use.
If you want a hard line on your heart, like I have here, using masking fluid to create the heart shape and then painting inside will give you the results you want.
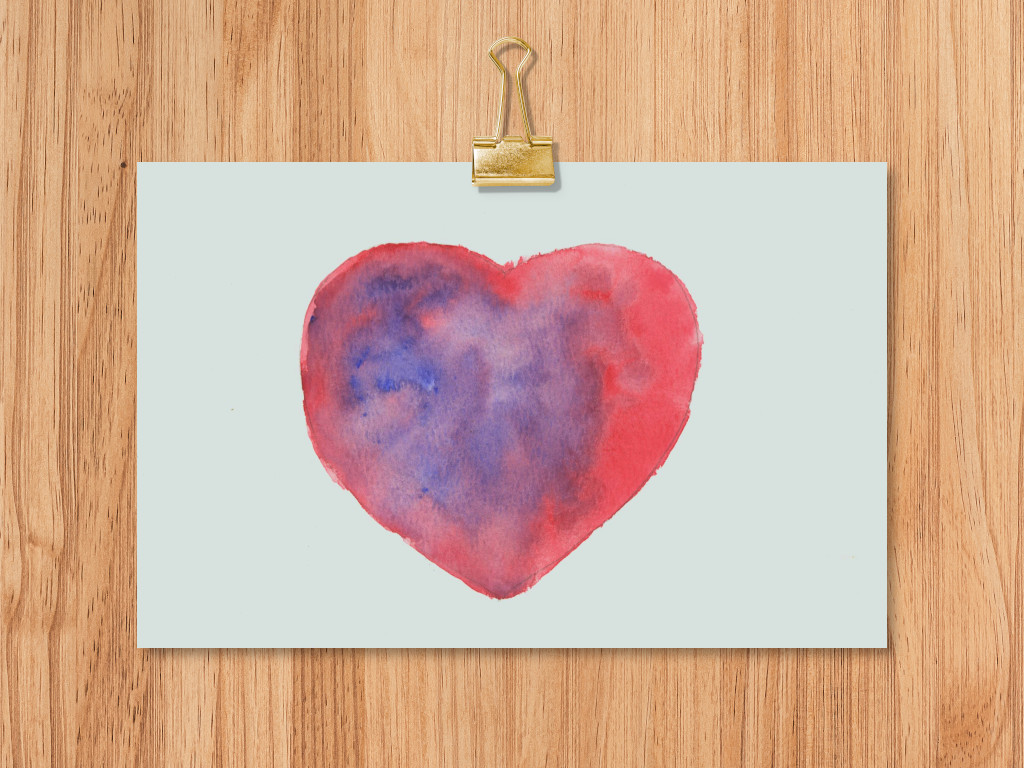
A star, a circle, a leaf – so many shapes will work with this method.
I think its charm is its vibrant colors. When lettering over this type of project, use black ink outside the abstract watercolor heart and switch to a white ink inside the heart shape.
I didn’t ink around this heart but inking would really add to it.
The white border sets it off perfectly, but you can also remove the background and place this type of artwork on an additional background of your choice.
Design is all about layering. Combining techniques will give you fantastic results.
Again, experiment and practice to get the effects you want.
Summing up all this background painting fun
I hope you have enjoyed learning more about how to paint a watercolor background. We just scratched the surface in this post.
If you want more beginner fun for watercoloring, I have a giant post on easy watercolor painting ideas – over 75 tips for you.
In any case, keep painting and lettering!